 Your Bizarre Adventure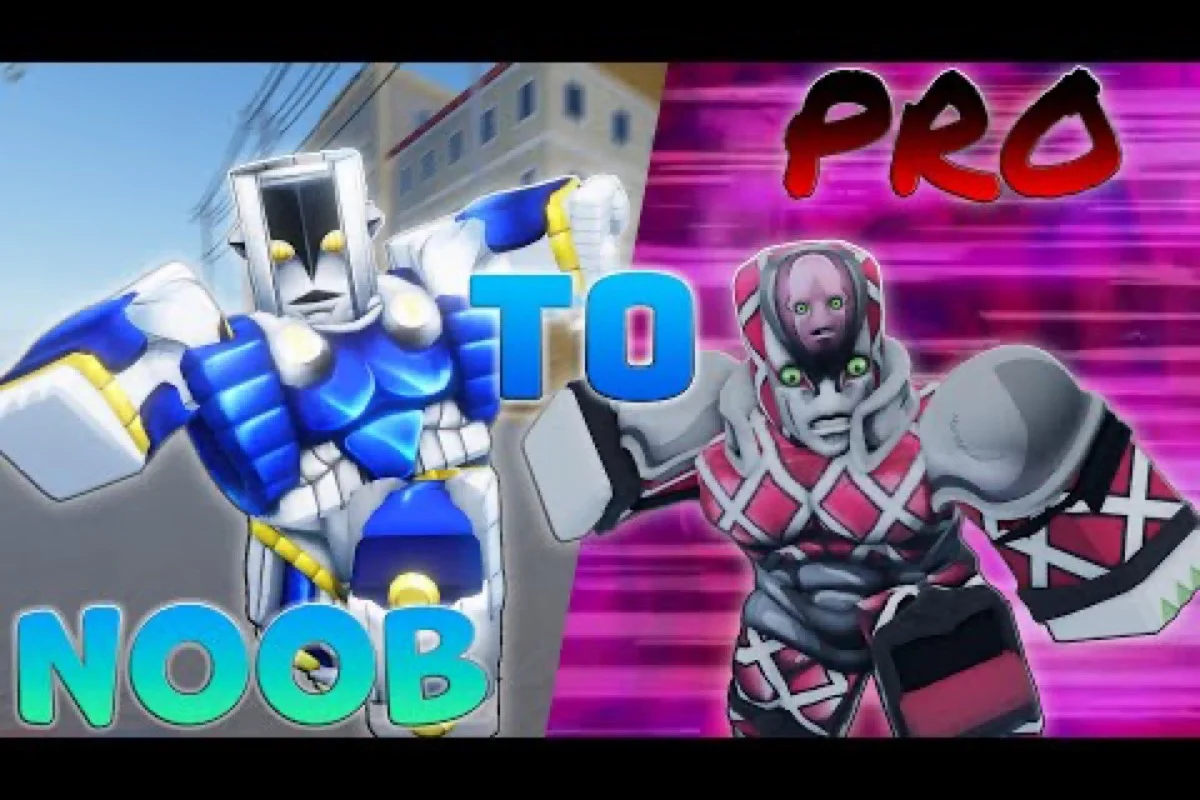
Getting better at Your Bizarre Adventure comes down to three habits: parrying on reaction, building a Stand-and-fighting-style combo you actually understand, and turning ranked 1v1 reps into deliberate practice instead of button mashing. The game hands new players a deep moveset on day one, and most fights are decided by who reads the block types first and who keeps their Posing habit tight between exchanges. This guide walks through the full climb from level 1 through the early game and into mid-game ranked play, with the exact buttons, timing windows, and synergy rules the official documentation actually confirms.
Why Most Players Plateau Early
New players usually hit a wall around level 15-25, not because their Stand is weak, but because they skip the defensive layer entirely. Your Bizarre Adventure's combat resolves on a five-category block system, and the only way to consistently win trades is to read which category the incoming move belongs to before committing to an attack. The official Your Bizarre Adventure page on Roblox describes a 20-player-per-server MMORPG built around Stand acquisition, gang fights, and PvP, and PvP is where the real skill check lives.
The Three Keys You Must Internalize
The game only officially documents three control inputs that apply across every Stand and fighting style, and ignoring any of them puts you at a structural disadvantage. Memorize these before you memorize combos.
| Key | Action | Why It Matters |
|---|---|---|
| F | Block / Parry | Hold F to block, tap F on precise timing to parry. Parries deflect heavies and R attacks, and stagger the attacker. |
| P | Posing | Dramatically accelerates HP regeneration. Players who Posing between combos out-sustain those who just hold block. |
| Backspace | Delete held item | Since items cannot be dropped, Backspace is the only way to clear a held weapon before switching to your Stand moveset. |
The Five Block Types You Must Read
Every attack in Your Bizarre Adventure belongs to one of five block categories, and your Bizarre Adventure early game progression lives or dies on recognizing them. The skill card itself shows the prefix in front of each move name, so reading the card is the first habit to build.
| Block Type | What Happens When You Hold F |
|---|---|
| Blockable | Standard block, costs no extra stamina beyond the normal guard drain |
| Heavy Block Damage | Blockable, but the move chips your guard harder; riskier to spam |
| Guardbreak | Ignores your block outright and hits you; you must dodge or parry |
| Block Bypass | Bypasses the block, disables it, and puts block on cooldown; a parry beats this |
| Ignores Block | Goes through the guard but does not disable it; reposition is the only answer |
| Chips Block | Penetrates the block for partial damage while you are still guarding |
Cards that begin with "Parriable" can be parried on reaction, and learning which of your opponent's moves carry that prefix is the single biggest early-game unlock. Players who skip this and go straight into combo routes are the ones who get stuck at Gold or Platinum in ranked and never reach Requiem tier.
Building Your First Stand And Fighting Style Combo
A Stand alone is not a build. Every working loadout pairs a Stand with a fighting style, and the synergy between the two determines whether your Bizarre Adventure level 1 experience feels sluggish or responsive. The fighting styles you can unlock at low level are Boxing, Hamon (any of the four teachers), Spin, Sword-Style, and Vampirism if you went Vampire race. Each one has a teacher, an unlock item, and a set of moves that combo into your Stand's kit differently.
Starter Combos That Actually Work
| Combo Path | Stand Synergy | Fighting Style Role | Why It Works Early |
|---|---|---|---|
| Star Platinum + Boxing | Fast Stand rushdowns | Boxing's jab string sets up parry punishes | Both are close-range and reward timing |
| Hierophant Green + Hamon (Joseph) | Ranged Stand pressure | Hamon closes distance when you overextend | Keeps pressure off you while you learn spacing |
| Magician's Red + Spin | AoE fire control | Spin gives mobility to escape guardbreaks | Fire punishes grouped enemies in PvE |
| Crazy Diamond + Boxing | Healing sustain + melee pressure | Boxing chains let you stay in the pocket | CD's passive sustain offsets Boxing's low HP |
| Anubis + Sword-Style | Sword possession + Stand slashes | Pluck sword gives extra range on Anubis hits | Both want to be at mid-range |
The official Trello secondary board tracks Stand and skin scores on a 1701-3000 point S+ tier down to an F tier, but that tier list scores skin rarity, not PvP strength. Treat any "S-tier Stand" video you find as a media opinion, not official ranking, because the developer's documented tier list is a cosmetic scoring system, not a combat one. This single misunderstanding ruins a lot of mid-game loadout decisions.
Level Milestones For Your First 35 Levels
Your Bizarre Adventure level 1 guide path is mostly about unlocking NPCs and the content they gate. The level requirements below come from the official side-quest list and unlock the main progression branches in order.
| Level | Unlock | Why It Matters |
|---|---|---|
| 1 | Officer Sam questline | First reliable arrow source and early money |
| 10 | Create a gang ($1,000) | Gang storage lets you hold extra arrows and Rokakaka |
| 10 | Deputy Bertrude questline | Unlocks bonus Stand skill points |
| 15 | Homeless Man Jill, Abbacchio's Partner | Side-quest money and cosmetic unlocks |
| 20 | Darius, Dracula | First real boss-tier damage check |
| 25 | Will Anthonio Zeppeli (vampires die) | Hamon tutorial; teaches the sun-vampire weakness |
| 30 | Doppio, Kars | Mid-game boss loop; gate for Heaven's Plan branch one |
| 35 | DIO, Prestige 0 unlocked | End of pre-prestige content; first prestige at Lv40 |
Notice how every five levels opens a new NPC or system. Players who skip side quests at 15 and 20 hit a soft wall at 25 because they do not have the skill points Darius rewards. The grind is not just XP, it is also quest completion, and the official quest list maps onto level brackets on purpose.
Defending First: Parry Timing And Block Reading
The fastest way to climb from noob to pro in Your Bizarre Adventure is to invert the usual beginner instinct of "attack first, defend later." Defense wins fights because parries both cancel the incoming move and stagger the attacker for a free punish. If you can parry three moves in a row in a 1v1, you will win trades you had no business winning.
The Parry Window, Explained
The game does not publish exact frame data, but the official combat basics describe a "precise timing" window where F flips from block to parry. Community testing consistently puts the parry window at roughly the first 6 frames of the hit connecting, and the only moves you can parry are the ones whose cards show the "Parriable" prefix. Moves tagged Guardbreak, Block Bypass, or Ignores Block will never parry, so reading the card is the prerequisite.
Execution Damage: Punishing Low-HP Targets
Some moves scale harder the lower the target's HP is, and learning which of your moves has Execution scaling turns short combos into kill confirms. The only Execution moves the developer has publicly documented are Road Roller, Crazy Beatdown, Impale, 7 Page Muda, Arrivederci Beatdown, String Beatdown, Dino Virus, Ora Beatdown, Friction Beatdown, and Punishment. The official example, String Beatdown, hits for 44 damage at 100% HP, 88 at 50%, and 105 at 30%. That kind of scaling only matters if you can keep your opponent alive long enough to drop them into the 30% window, so Execution routes are a mid-game and ranked skill, not an early-game one.
Ultimate Cooldown Discipline
Any move that ragdolls or freezes an opponent puts your Ultimate on cooldown, so spamming your heavy hitter without tracking the meter will lock you out of your burst at the worst possible moment. Holding your Ultimate for the Execution window is the right habit to build, even when it feels like wasted pressure in the moment. If you want the full combat basics reference, the Your Bizarre Adventure official Trello primary board keeps the current move list and block-type tags updated.
Going From Early Game To Mid Game
Your Bizarre Adventure mid game starts the moment you hit level 35 and see Prestige Master Rin in the main hub. Prestige 0 requires level 35 and $5,000, then Prestige 1 bumps the level cap to 40, Prestige 2 to 45, and Prestige 3 to 50. The climb from 35 to 50 is where most players learn whether they are actually improving, because Prestige is the gate to Requiem Arrows, Heaven's Plan, and the Steel Ball Run endgame loop.
Prestige Costs And What You Keep
| Prestige | Level Cap | Cost | What Resets | What Stays |
|---|---|---|---|---|
| 0 → 1 | 40 | $5,000 | Quest progress (including Heaven's Plan), inventory | Stand, fighting style, race, skill points |
| 1 → 2 | 45 | $5,000 | Same as above | Same as above |
| 2 → 3 | 50 | $5,000 | Same as above | Same as above, plus golden name color |
The fact that Stand and fighting style survive Prestige is huge for build planning, but the fact that quest progress resets is the most common early-game trap. New players often Prestige before finishing the Giorno Giovanna #1-17 storyline, which means redoing 17 quest steps from scratch after the reset. Finish the main storyline first, then Prestige when you hit the level cap.
The Steel Ball Run Transition
Steel Ball Run is the mid-game PvP and PvE loop, with seven stages whose spawn rates are officially published. Starting Line and NYC Bridge have a 100% guaranteed spawn, and the five middle stages each have a 20% chance, so consistent runners reroll the lobby until they see the gates they need. The blessings system inside SBR gives you a random buff when you walk into the golden Blessed barrier at the start of each stage, and choosing the right blessing for your Stand turns a coin-flip race into a controlled run. Players who treat SBR as a random race and not a blessing-optimized one are leaving two to three Horse Feed wins per hour on the table.
Entering Ranked At The Right Time
The ranked 1v1 ladder has nine divisions from Iron through Ascended, four tiers per division, and a season reset every four months. Placements start each season, and winning five placement matches drops most players into Iron I. The general rule is to start ranked only after you can consistently parry two of the three most common Block Bypass moves you face, because the ranked MMR will not let you climb without that defensive baseline. More details on the climb and what to do at each tier sit in the advanced strategy guide, which covers the Diamond-to-Crusader transition in depth.
The Habits That Separate Mid Game From Endgame
Reaching Platinum and Diamond in ranked is where most players realize raw Stand power stops carrying fights. From there, the climb to Requiem and Ascended comes down to habits, and the habits below are the ones that consistently show up in high-tier replays. None of them require a rare Stand or a game pass; they are all free, and they all compound.
-
Posing between every combo to keep HP topped off, especially after Execution routes
-
Reading the opponent's card prefix on the first move you eat, then adjusting your defense
-
Holding Backspace before switching from a held item to your Stand moveset
-
Tracking the Ultimate cooldown and saving it for the 30% HP Execution window
-
Running the Prestige Master Rin questline only after finishing the Giorno storyline
Mid-Game Money And Item Routes
Money in the mid game is not a grind problem, it is a routing problem. ShiftPlox the Travelling Merchant buys Mysterious Arrows for $200, Rokakaka for $600, Pure Rokakaka for $1,500, Stone Masks for $1,000, Gold Coins for $120, Diamonds for $500, Steel Balls for $1,000, Ribcage of the Saint's Corpse for $1,200, and Heart of the Saint's Corpse for $2,500. Knowing those vendor prices by heart lets you flip drops you do not need into the Corpse Parts or arrows you do need. Ribcage of the Saint's Corpse itself costs $3,500 in the regular shop while ShiftPlox pays only $1,200 for the same item, so the shop is always the more expensive way to acquire one — buying from ShiftPlox is not possible, only selling to him. For a deeper breakdown of the money-side loop, the fast leveling and money farming route covers the same vendor chain from the XP angle.
Why Worthiness Gates Everything
Worthiness is the skill-tree investment that gates every arrow and Corpse Part, and the developer has only published one specific Worthiness threshold: Tusk ACT 3 requires Worthiness V plus Spin. The exact point cost of every other Worthiness node is not publicly documented, so the right habit is to dump early skill points into the Worthiness branch the moment you commit to an arrow-based Stand, because that branch is the bottleneck for every late-game evolution. If you want the full Worthiness node list and recommended point order, the YBA Worthiness guide walks through the exact skill tree layout.
Fighting Style Synergy At Mid Game
By the time you reach level 30, you should have a primary fighting style and one backup. Hamon is the most versatile pick because four different teacher variants exist (Lisa Lisa's Zeppeli's Hat, Clackers, Caesar's Headband, and Jonathan Joestar's variant), and each one shifts the move list slightly. Spin is the mobility pick and unlocks Tusk ACT 2's left-arm evolution, while Sword-Style gives you the Pluck sword for extra range on Stand sword users like Anubis and Silver Chariot. Boxing is the cleanest defensive pick and pairs best with close-range Stand rushers. For the full breakdown of Spin as a fighting style and how it feeds into Tusk evolutions, the YBA Spin fighting style guide covers the unlock path and the move list in detail.
Frequently Asked Questions
What is the single fastest way to start winning 1v1 fights as a new player?
Learn to parry first, then learn your Stand's three best moves. Players who skip parry training and go straight to combo routes lose the majority of trades against anyone who can read their cards, because a single successful parry staggers the attacker and opens a free punish window. Spend your first ranked placements practicing parry timing on the three most common Block Bypass moves you face, and ignore climb pressure until your parry rate is consistent.
When should I do my first Prestige?
Prestige as soon as you hit the level cap and finish the Giorno Giovanna #1-17 main storyline, because Prestige resets quest progress including Heaven's Plan. If you Prestige mid-storyline, you will redo 17 quest steps from scratch, which is the single most common new-player waste. Most players hit the level cap well before finishing the story, so the right order is quests-first, then Prestige at the cap.
Do I need a game pass to be competitive?
No. The game passes currently on sale (2x Inventory at 799 Robux, Item Notifier at 1,000 Robux, 2x Cosmetic Slots at 399 Robux, Voice Lines at 199 Robux, Select Pose at 99 Robux, and Tips at 99 Robux, all as of October 2026) are quality-of-life, not power. The cosmetic and Stand Storage passes that gave power advantages are listed as off-sale on the official Trello. Skill, parry timing, and matchup knowledge win more fights than any Robux purchase.
Is it worth rerolling my Stand early on?
Generally no. The pity system caps at 10% normally and 20% if you buy a stand reroll, with Lucky Arrow giving 90% and stacking on top, so chasing a specific Stand through rerolls burns Robux quickly. The right move for most players is to commit to whatever Stand the arrow gives them, learn its block types and parry windows, and Prestige with it. The first Stand you learn deeply will outperform the fifth Stand you reroll for.
How long does the level 1 to mid-game climb take?
The level 1 to 35 climb usually takes 8-15 hours of active play for a new player who is running side quests at every five-level bracket. Reaching Prestige 1 (level 40) adds another 5-10 hours, and reaching Prestige 3 (level 50) is typically 25-40 hours of active play. The grind shortens significantly once you learn the vendor routing, because most of the slow XP comes from money-and-arrow detours that efficient routing removes.