 Your Bizarre Adventure
Items
The items that gate progress in Your Bizarre Adventure - Arrows, Corpse Parts, Rokakaka and quest drops - with hold limits, tradability and what each one actually does.
Introduction
Items in Your Bizarre Adventure are not a loot catalogue; they are the levers that move every other system. A Stand only exists because an arrow or a Ribcage produced it. A skill tree is only refundable because a Rokakaka exists. A long quest only completes because a specific drop landed. The official board tracks thirty-seven of them, and the ones that matter are distinguishable by two attributes that are stated officially: how many you can hold at once and whether they can be traded. Those two numbers decide how you play around each item far more than its description does. This section covers the arrows, the Corpse Parts, the Rokakaka family and the quest and style items, including the hold limits and tradability flags the board publishes.
Core Items & Hold Limits
Item Detail
Mysterious Arrow
The standard Stand entry point
Lucky Arrow
Higher variance, higher ceiling
Requiem Arrow
The evolution key
Rokakaka and Pure Rokakaka
Two resets with very different scope
Corpse Parts
Four parts, four specific targets
Quest & Style Items
The drops that gate specific routes
Core Mechanics
Items fall into three functional groups. The first is acquisition: Mysterious Arrows and the Ribcage of the Saint's Corpse are how a Stand enters your account, and the Lucky Arrow is the higher-variance version that also carries a high chance of a random skin. The second group is respec: the Rokakaka removes your Stand and fighting style and refunds every skill point, while the Pure Rokakaka resets only the skill trees and leaves your Stand, style and race in place. The distinction matters because a full reset is often what you want when changing builds, but not when your Stand is already the one you intend to keep. The third group is progression: the Requiem Arrow and the four Corpse Parts are consumed to evolve specific Stands, with the Heart targeting D4C and Red Hot Chili Pepper, the Left Arm driving Tusk ACT 2 and the Pelvis driving Tusk ACT 4. Two properties cut across all three groups. Hold limits decide whether you can stockpile - twenty-five arrows is a lot of rolling, five Requiem Arrows is not - and tradability decides whether an item is currency or a dead slot. Requiem Arrows, Green Babies and every Redeemed variant cannot be traded, while arrows, Rokakaka and Corpse Parts can.
Advantages
The item economy is unusually transparent. The board states the hold limit for nearly every relevant item and flags which ones are tradable, so you can plan around them without experimenting. That makes routing possible: because arrows stack to twenty-five, you can stockpile rolls before a session and spend them in one sitting instead of hunting between attempts. The Rokakaka family gives you a genuine respec safety net - a full reset refunds every skill point, so a build mistake costs an item rather than the account. The Corpse Parts are deterministic: each one targets a named Stand, which means the long evolution routes are recipes you can work toward rather than gambles. Redeemed variants of arrows also exist as code rewards, and although they cannot be traded they still give you the item itself, so codes convert directly into progression rather than into a cosmetic. Finally, the fact that several key items including arrows, Rokakaka and Corpse Parts are tradable means unwanted pulls and duplicate drops retain value instead of clogging storage.
Challenges
The item system punishes players who do not read the fine print. Hold limits are small on the items that matter most: five Requiem Arrows means a bad evolution decision is expensive to redo, and a ten-item Lucky Arrow cap keeps the highest-variance roll in the game permanently scarce. Tradability is not uniform either, so an item you assumed was currency may be a dead slot - Requiem Arrows, Green Babies and all Redeemed variants cannot be traded, which is exactly the opposite of what most players expect about code rewards. Consuming an item is usually irreversible, and several Corpse Parts only work on one specific base Stand, so applying the Heart to the wrong Stand wastes it. The Rokakaka is a blunt instrument in one direction and a weak one in the other: the full reset also clears your fighting style, which is more than most players want when they are only chasing a skill tree change. Most frustrating of all, the board never publishes drop odds for any of these items, so planning around rarity is guesswork.
Frequently Asked Questions
How many arrows can I hold at once?+
What is the difference between Rokakaka and Pure Rokakaka?+
Which Corpse Part evolves which Stand?+
Are code-reward items tradable?+
Quick Tips
Stockpile Mysterious Arrows before a rolling session rather than hunting them one at a time. The hold limit is twenty-five, so there is no reason to roll as you find them - bank a batch, then spend it in one sitting so you can compare results instead of forgetting what you already had.
Check whether the item is tradable before you plan around it. Arrows, Rokakaka and all four Corpse Parts can be traded, but Requiem Arrows, Green Babies and every Redeemed code variant cannot. An untradable item is still valuable to you, but it will never be currency. Check the flag before you count an item as trade currency in a deal with another player.
Match the Corpse Part to the Stand before you consume it. The Heart only does anything on Red Hot Chili Pepper and D4C, and the Left Arm and Pelvis only advance the Tusk line. Applying the wrong part to the wrong Stand is a wasted drop, and the board does not offer refunds.
Keep one Requiem Arrow in reserve rather than spending down to zero. The hold limit is five and the item cannot be traded, so the only way to replace one is to earn it - usually through a top-three Steel Ball Run finish. Burning your last arrow on a Stand you later replace is the expensive mistake here.
Screenshot your quest item pickups. Dio's Bone and Jotaro's Disc only count toward the Heaven's Plan when obtained after the quest starts, so knowing when each one entered your inventory saves you a full second collection run later. A note of the pickup time is enough to tell whether the quest will register the item later.
Featured
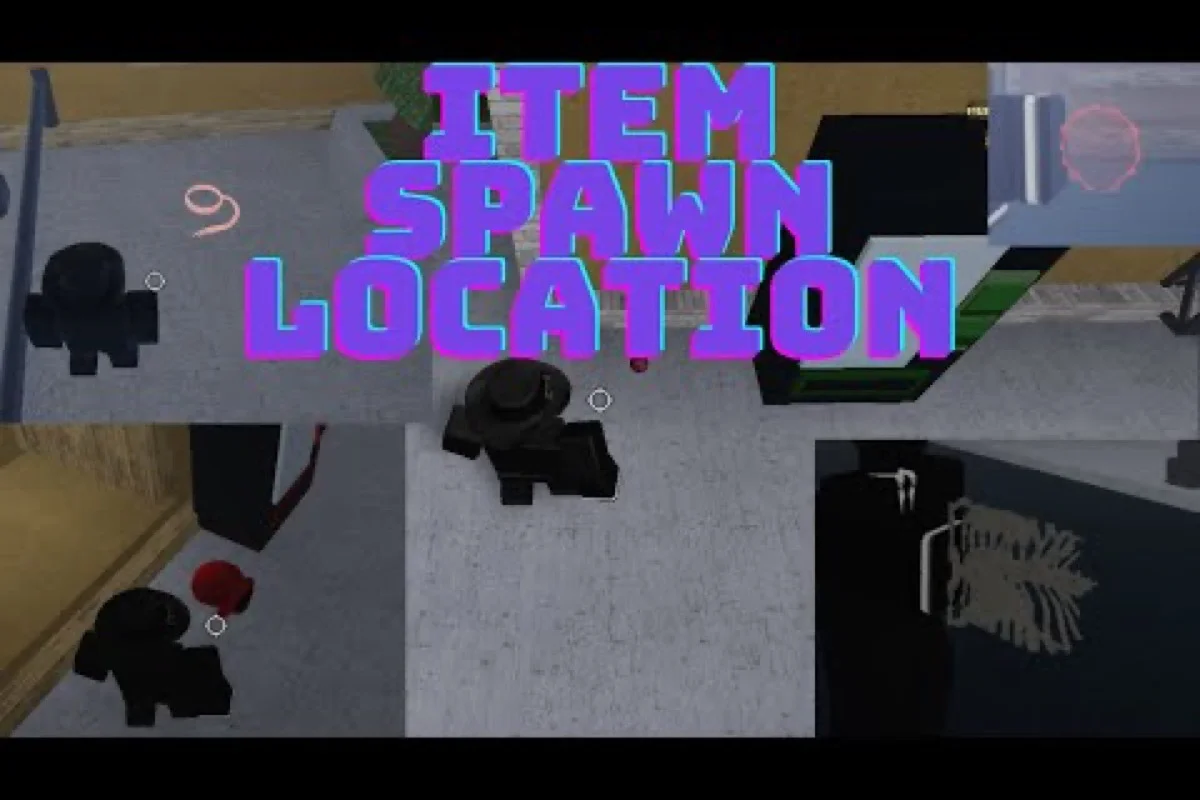
Your Bizarre Adventure YBA Item Spawn: Timers, Rarity And Maps
Track every YBA item spawn location and rate, from Mysterious Arrows to Lucky Arrows, and learn the best farming routes for rare drops in each area.
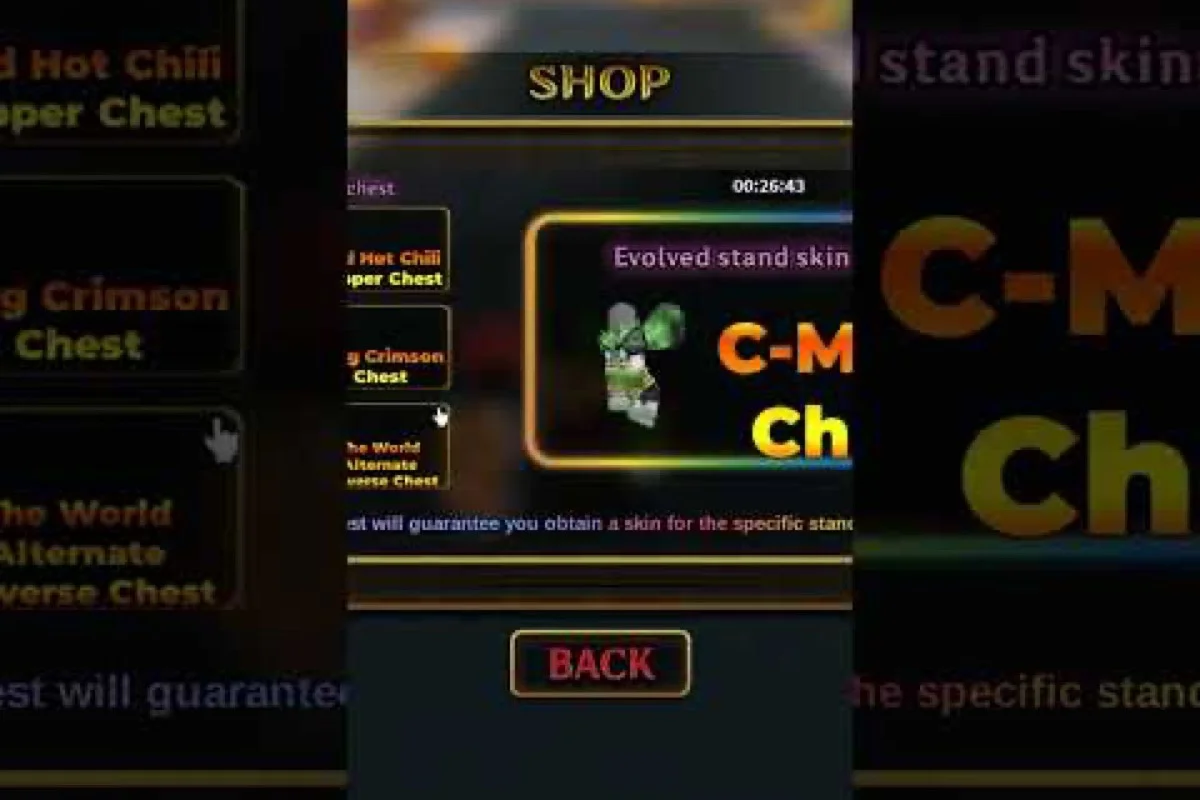
Your Bizarre Adventure YBA Lucky Arrow Spawn Rate & Roka Path
Crack the YBA Lucky Arrow spawn rate, weigh Roka shop values, and chart the cleanest path to landing a Requiem Arrow without burning your whole inventory.
Your Bizarre Adventure YBA Rokakaka: Pure, Redeemed & Corpse Uses
See how YBA Rokakaka powers every evolution, what sets Pure Rokakaka apart from Redeemed, and which Corpse Parts you need to finish the full quest chain.
All Articles

Your Bizarre Adventure YBA Saint Corpse: All Body Parts & Diary
Collect every YBA Saint Corpse part from Rib Cage to Left Arm, follow Dio's Diary steps, and unlock the HEAVEN'S PLAN reward path to the end.
Your Bizarre Adventure YBA Blood Bottle: Shop, Drops & Values
Stock up on YBA Blood Bottles from Alex the Bartender, check current drop sources, and learn item values for Gold Coins, Diamonds, and Steel Balls in trade.
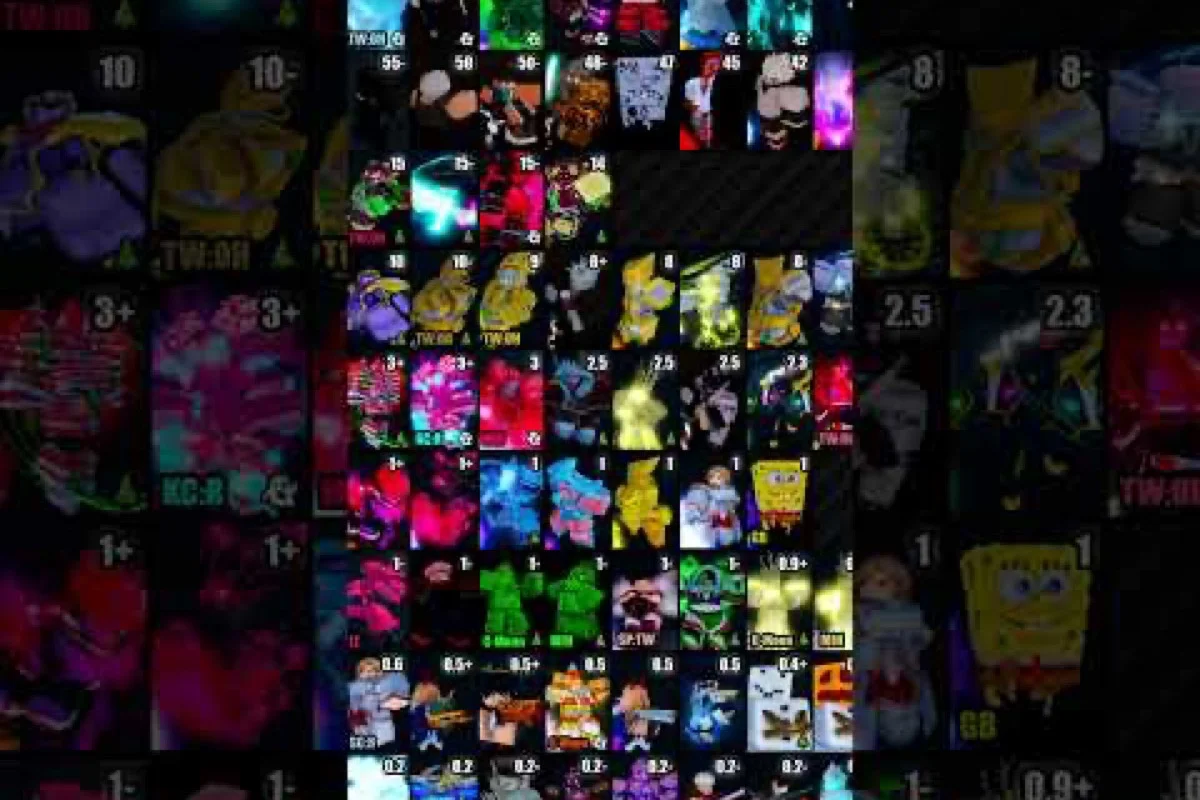
Your Bizarre Adventure Items: Full List, Values & Best Uses
Sort every Your Bizarre Adventure item by value and use, covering consumables, crafting materials, and trade goods that shape your late-game progression.
Your Bizarre Adventure YBA Dios Bone: Drops, Discs & Mask
Farm YBA Dios Bone from Heaven Ascension DIO, grab Jotaro and Weather Report Discs, and fuse Green Baby with a Lucky Stone Mask to finish the quest.