 Your Bizarre Adventure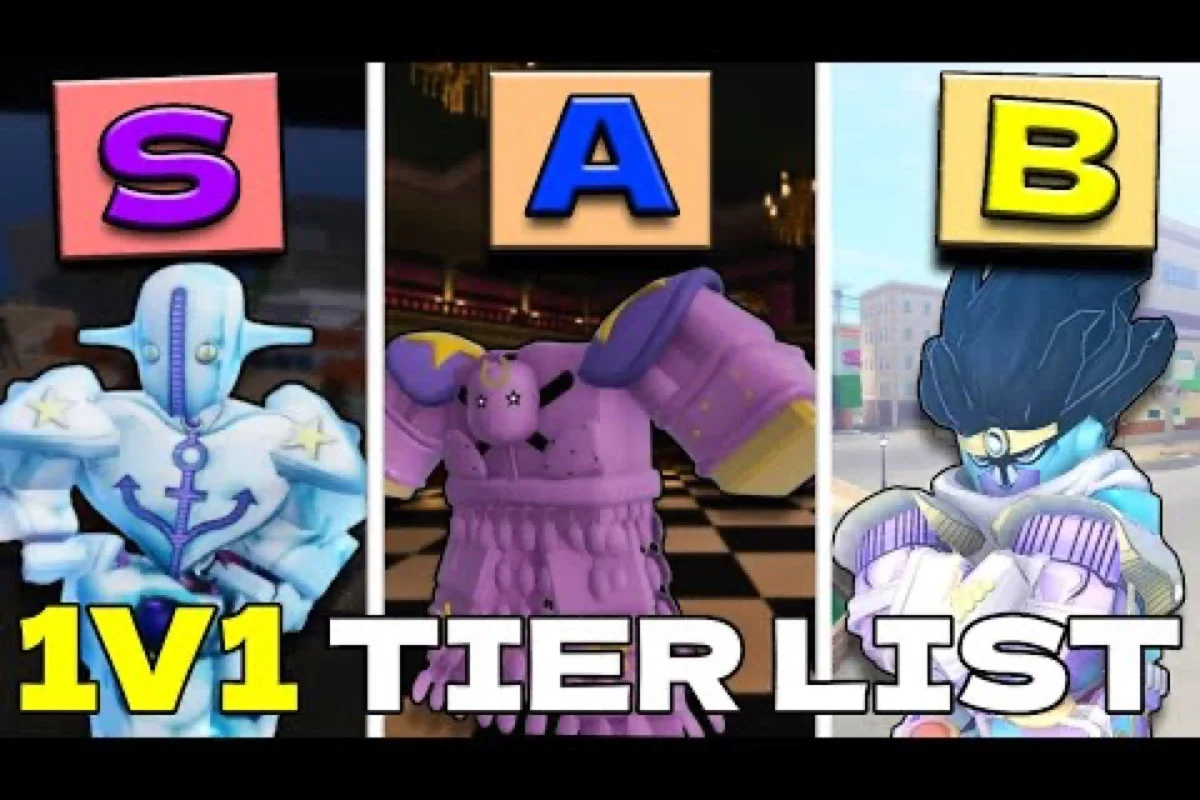
Climbing from Iron placements to Ascended in Your Bizarre Adventure's ranked ladder comes down to three repeatable skills: knowing which 1v1 map favors your Stand, landing parries on reaction rather than prediction, and managing the block / parry / dash economy. This yba 1v1 guide breaks each layer with official numbers from the developer Trello so you can stop guessing and start winning RP on purpose.
Ranked 1v1 Ladder, Seasons, and Why Map Picks Matter
Ranked 1v1 runs on a four-month season cycle. Per the official Ranked 1v1 Trello card, each season begins with Placements matches where wins count extra and losses do not subtract RP. Winning five placement fights drops you into a real division, and most fresh accounts land in Iron I. Last season's division applies a soft demotion at the start of the next season, so a Gold IV player in May opens September around Silver I rather than from scratch.
The ranked ladder has nine divisions — the bottom three are Iron, Bronze, and Silver, the middle band is Gold and Platinum, and the top four are Diamond, Crusader, Requiem, and Ascended — each split into four tiers. Crossing the >100 RP threshold promotes you a tier; dropping below 0 RP demotes you. MMR quietly governs matchmaking and refuses to pair you against opponents more than two full divisions above or below your current placement, which means your map pool only needs to beat the players actually in your queue, not the entire server.
Loot Points, Chests, and the Real Reward Loop
Ranked fights feed a parallel currency: Loot Points. Every 20 Loot Points grants a random chest, so even a loss-heavy climb still unlocks cosmetics and consumables. This reward loop is the main reason a yba 1v1 guide has to talk about map picks — three straight wins on a map you understand can be worth the same chest as five chaotic fights on a map you do not.
Map Pool Overview (All 11 Official 1v1 Maps)
The developer Trello lists eleven official 1v1 and 2v2 maps, and not all of them rotate in every playlist. The four most common selections in ranked queues are The Joestar Mansion, The Colosseum, The Morioh Station, and Green Dolphin Street Prison Courtyard. The remaining seven — Windknight's Lot, Skeleton Heel Stone, Dio's Mansion, Dio's Coffin Room, Cairo's Bridge, San Giorgio Maggiore Basement, and Devil's Palm — show up in featured or weekend rotation. Knowing the four core maps is enough to handle roughly 80% of your matches, which is why this guide spends the most time on them.
Map-by-Map Breakdown: Layout, Range, and Stand Synergies
Every map in Your Bizarre Adventure's ranked rotation has a distinct geometry, and the geometry decides which Stand archetypes dominate. Ranged Stands want sightlines, melee Stands want corners, and area-control Stands want chokepoints. The yba colosseum map and the yba green dolphin street map are textbook examples of opposite design philosophies.
The Colosseum — Open Arena, Punishes Hesitation
The Colosseum is the oldest map in the 1v1/2v2 rotation and was originally added alongside the Silver Chariot evolution line. Per the Colosseum Trello card, the layout is a wide circular arena with a low outer wall and a single raised central platform. There are almost no corners, so melee Stands like The Hand, Killer Queen, and Star Platinum shine because fights devolve into pure spacing duels. Ranged Stands such as Aerosmith, Magician's Red, and Hierophant Green still work, but they lose value because opponents can simply run behind the central platform to break line of sight.
The pacing on the Colosseum is fast. Because the arena is symmetrical, there is no "good side" — both players spawn at mirror positions. The dominant strategy is to claim the central platform early, then bait the opponent into overcommitting onto it, where a parry punish wins the round. If you are running a zoning Stand, hang near the outer wall and force the melee player to chase you through open space, then use the moment they commit to a dash to land a parry on the recovery.
The Joestar Mansion — Hallways, Doors, and Ambush Corners
The yba joestar mansion map is the opposite of the Colosseum. It is a multi-room indoor layout with narrow hallways, two main staircases, and a balcony overlooking the entrance hall. Doors function as soft chokepoints: you can stand behind a half-closed door and force the opponent to either break the door open (a punishable animation) or walk around through a longer route. This map heavily rewards The World, King Crimson, and D4C because their heavy-hitting close-range combos thrive in the tight spaces, and it punishes long-ranged Stands because sightlines max out at roughly two rooms away.
A consistent win condition on the Joestar Mansion is to control the upper floor. The balcony gives you a height advantage on blocking and parrying, and the staircase is a natural funnel that lets you predict enemy approaches. If you are forced downstairs, do not panic — the kitchen area has a long counter you can use as a wall, mirroring the chokepoint play of the upstairs rooms.
The Morioh Station — Mixed Indoor / Outdoor, the Balanced Map
The yba morioh station map is the most "neutral" map in the rotation, which is why it appears so often in mid-rank queues where matchmaking is widest. It splits into an outdoor platform area (with a parked train car as a major obstacle) and an indoor ticketing hall connected by a long corridor. This layout supports every Stand archetype, so the winner is usually the player with better fundamentals rather than the player with the better Stand matchup.
Use the train car to break line of sight if you are a ranged Stand, and use the corridor to force melee if you are close-range. The ticketing hall has several support pillars that are perfect for baiting parries — step out, fake a heavy, step back behind the pillar, and punish the dash with a parry of your own. Morioh Station is also one of the few maps where the P posing key shines, because the corners are large enough to safely pause and regen without being instantly punished.
Green Dolphin Street Prison Courtyard — Vertical Layers and Wall Abuse
The yba green dolphin street map is a courtyard surrounded by prison walls, with two elevated walkways that look down onto the main floor and several cell doors that act as soft walls. This map is a parry player's paradise because the walkways create predictable attack angles — opponents on the lower floor have to look up, which makes it easy to read whether they will dash in or throw a projectile. Stands with vertical range like Hierophant Green and Beach Boy dominate from the upper walkways, while heavy close-range Stands like Star Platinum: The World and Killer Queen: Bites The Dust control the ground level.
The main mistake players make on Green Dolphin Street is staying on the walkways too long. The upper level has only one stairwell per side, which means a smart opponent will camp that stairwell and parry you the moment you drop down. Instead, use the walkways to scout, then drop deliberately during a parry window so you land safely and counterattack.
Map Pick Cheat Sheet
| Map | Best Archetype | Key Landmark | Stand Examples |
|---|---|---|---|
| The Colosseum | Melee / spacing duel | Central platform | The Hand, Star Platinum, Killer Queen |
| Joestar Mansion | Heavy close-range | Balcony & staircase | The World, King Crimson, D4C |
| Morioh Station | Balanced fundamentals | Train car & ticketing hall | Six Pistols, Gold Experience, Crazy Diamond |
| Green Dolphin Street | Vertical control | Elevated walkways | Hierophant Green, Beach Boy, Star Platinum: The World |
| Dio's Mansion | Long sightlines | Hallway mirrors | Aerosmith, Magician's Red |
| Cairo's Bridge | Edge pressure | Bridge center & river | Cream, The Hand |
Combat Fundamentals: Blocking, Parrying, and the F Key Economy
Every ranked fight in Your Bizarre Adventure comes down to the same three-button core. F is your single combat key — hold it to block, tap it on perfect timing to parry. P opens your pose menu, which dramatically accelerates health regeneration if you survive long enough to use it. Backspace deletes a held item, which is the only way to drop things you accidentally picked up off the ground. There is no "drop" button for inventory, so Backspace is your only recourse if you grabbed a Mysterious Arrow you did not want before a fight.
The F Key Has Two Modes
Holding F reduces incoming damage from Blockable attacks but still chips your guard. It does nothing against Block Bypass and Ignores Block moves, both of which pass straight through your guard. Tapping F at the precise frame a heavy or R-signature attack is about to connect triggers a parry, which reflects the hit back at the attacker and briefly staggers them. That stagger window is your actual win condition — a clean parry into two or three combo hits is the standard way rounds end at high rank.
Knowing how to parry is the single biggest skill gap in ranked play. The yba how to parry question comes up constantly because the timing window is roughly 6 frames at 60 FPS, which is about 100 milliseconds. You cannot parry by reading the animation in advance; you have to react to the white flash that appears on heavy attacks the moment they become parriable. Light attacks are not parriable at all, so spamming F against a jab string only wastes your stamina and locks you out of the parry window for a moment.
Block Types Every Player Should Memorize
The developer Trello splits all incoming damage into five categories. Memorizing these tells you when to hold F, when to parry, and when to simply dodge.
| Block Type | Effect on Guard | F Response |
|---|---|---|
| Blockable | Reduced damage | Hold F |
| Heavy Block Damage | Reduced but heavy chip | Hold F or dodge |
| Guardbreak | Ignores block, staggers you | Dodge, never hold F |
| Block Bypass | Ignores block + locks you out | Dodge, never hold F |
| Ignores Block | Passes through, no guard lock | Dodge |
| Chips Block | Damages through guard | Hold F is acceptable |
The skill card for every Stand ability prefixes Parriable on moves that can be reflected. Treat that prefix as a checklist: every Parriable move in your opponent's kit is a free round if you react correctly. Every non-Parriable move is something you must dodge on prediction instead.
Posing, Dashing, and Round Reset
Pressing P triggers a brief pose animation. While posing, your health regenerates noticeably faster, and the animation itself has invulnerability frames during the first few frames of the wind-up. This makes P a legitimate defensive tool when you are at low HP and need a moment to recover, but it also leaves you stationary for the full animation if you hold the button. Always cancel P back into a dash the instant your opponent gets close, because a fully committed pose is a free heavy attack for anyone with range.
Dashing is your reset tool. A well-timed backward dash after a missed combo puts enough distance between you and the opponent that you can either re-engage on your own terms or use the moment to pose. On small maps like the Joestar Mansion, dashes are short, so use them sparingly. On large maps like the Colosseum, dashes are long, so chaining dash-cancel into dash-cancel is a legitimate spacing tool that high-rank players use to control the entire arena.
Strategy: Reading Opponents and Climbing from Iron to Ascended
Knowing the maps and the F-key economy is half the battle. The other half is reading the opponent in real time and adapting your plan between rounds. The developer Trello notes that ranked matchmaking uses MMR rather than pure division matching, so you can climb even during losing streaks as long as you are improving faster than your MMR drops.
Round 1 — Establish Your Plan
The opening round of every ranked set is a scouting round. Spend the first ten seconds identifying your opponent's Stand, their preferred engagement range, and whether they open with a projectile or a dash. If they open with a projectile, you know they are a zoning player and you should close distance immediately. If they open with a dash, they are committing to melee and you should hold F to bait their first string, then parry the recovery.
Use the opening round to learn the map's rhythm. Pay attention to where your opponent retreats when they are losing — many players unconsciously favor the same corner across multiple rounds. Punish that habit in round 2 by cutting off the retreat route.
Rounds 2 and 3 — Punish Patterns
Once you have seen your opponent's habits, round 2 is where you start applying pressure. The yba ranked 1v1 meta rewards players who can chain two correct reads in a row: the first read identifies the move, the second read punishes the cooldown. Most Stands have at least one ability with a 5–8 second cooldown, so the moment you see that ability go off, you have a free window to engage without fear of being reversed.
If you lose round 2, do not panic-switch your plan. Instead, look at what actually went wrong. Did you lose because you overcommitted to a combo? Because you held F on a Guardbreak? Because you dashed into a projectile? Each of those losses has a specific correction, and tracking them in your head is how you climb. The official developer Trello confirms that combo timing varies by Stand, so generic "git gud" advice does not apply — your correction has to be Stand-specific.
Adaptation Map: Loss → Fix
| Loss Cause | Correction | Stand-Specific Note |
|---|---|---|
| Held F on Guardbreak | Dodge on animation start | Star Platinum's barrage is Guardbreak |
| Whiffed parry | Wait for white flash, not animation | Heavy attacks flash white 6f before hit |
| Got out-zoned | Close distance with dash-cancel chain | Six Pistols bullets are dodgeable on reaction |
| Lost the corner | Cut retreat with ranged poke | Hierophant Green's Emerald Splash has long range |
| Posed too long | Cancel P into dash at half HP | Pose gives 1.5s of regen, not 3s |
Cross-Training with Other Game Modes
Many of the spacing instincts you need in ranked 1v1 come from Steel Ball Run and the Heaven's Plan questline, both of which force you to fight multiple enemies in sequence. Running SBR between ranked sessions is a low-pressure way to practice parry timing because the PvE enemies telegraph their heavy attacks longer than most players do. If you want a deeper breakdown of how SBR rewards feed back into your ranked climb, the prestige leveling guide covers how Ribcage of the Saint's Corpse and Lucky Arrow drops convert into the rare Stands that win mirror matchups at high rank.
Frequently Asked Questions
Which YBA 1v1 map is best for beginners?
The Morioh Station map is the most balanced because it has both indoor and outdoor space, predictable sightlines, and at least one soft cover on every part of the layout. Beginners who learn Morioh Station first will transfer roughly 70% of that map knowledge to the Joestar Mansion and the Colosseum, which makes it the highest-value map to master before touching ranked placements.
How do I parry consistently in Your Bizarre Adventure?
Wait for the white flash on heavy attacks rather than trying to read the animation. The parry window is about 6 frames at 60 FPS, so the only reliable input is a reaction to the flash, not a prediction. Practice the timing in Steel Ball Run first because PvE enemies telegraph heavies slightly longer, which gives you a forgiving training ground before you try it in ranked.
Does the yba colosseum map favor any specific Stand?
Yes — the Colosseum favors melee Stands with strong mid-range pressure such as The Hand, Star Platinum, and Killer Queen, because the open arena punishes zoning and rewards players who can control the central platform. Ranged Stands still work on the Colosseum, but they need to abuse the outer wall and the central platform's blind spots to compete.
Why do high-rank players keep switching between block and parry?
Because holding F and tapping F are two different actions with two different stamina costs and two different risk profiles. Holding F reduces chip damage from light attacks but does nothing against Guardbreak moves, while tapping F at the right moment reflects a heavy back at the attacker. Mixing the two inputs is what makes your defense unpredictable, which is the entire point of the F key economy.
What should I do if I lose my placement matches?
Do not panic — placement matches give bonus RP on wins but do not subtract RP on losses, so even a 0-5 placement run still drops you into Iron I with a fresh slate. Use the placement set as a scouting phase, identify which map in the rotation you understand least, and queue for that map specifically in your next few games so you enter the real ranked grind with a complete map pool.